Low Cost WiFi Temperature Sensor
Our D1 Mini RJ45 Breakout board has a footprint for an LM75 I2C temperature sensor. The reason we added this is we figured every WiFi node on ESPHome should have the ability to report the temperature and LM75 sensors are pretty cheap. The reason we don't populate them, however, is we found the temperature sensors always read a little bit hot. Our theory on the reason for this was that we were getting some heating from the board with the SMT LM75. After all, the LM75 is really designed to give board temperatures not air temperatures. With no ground plane on the breakout around the LM75 we thought it would be close enough, but it really didn't work well enough for us to deploy.
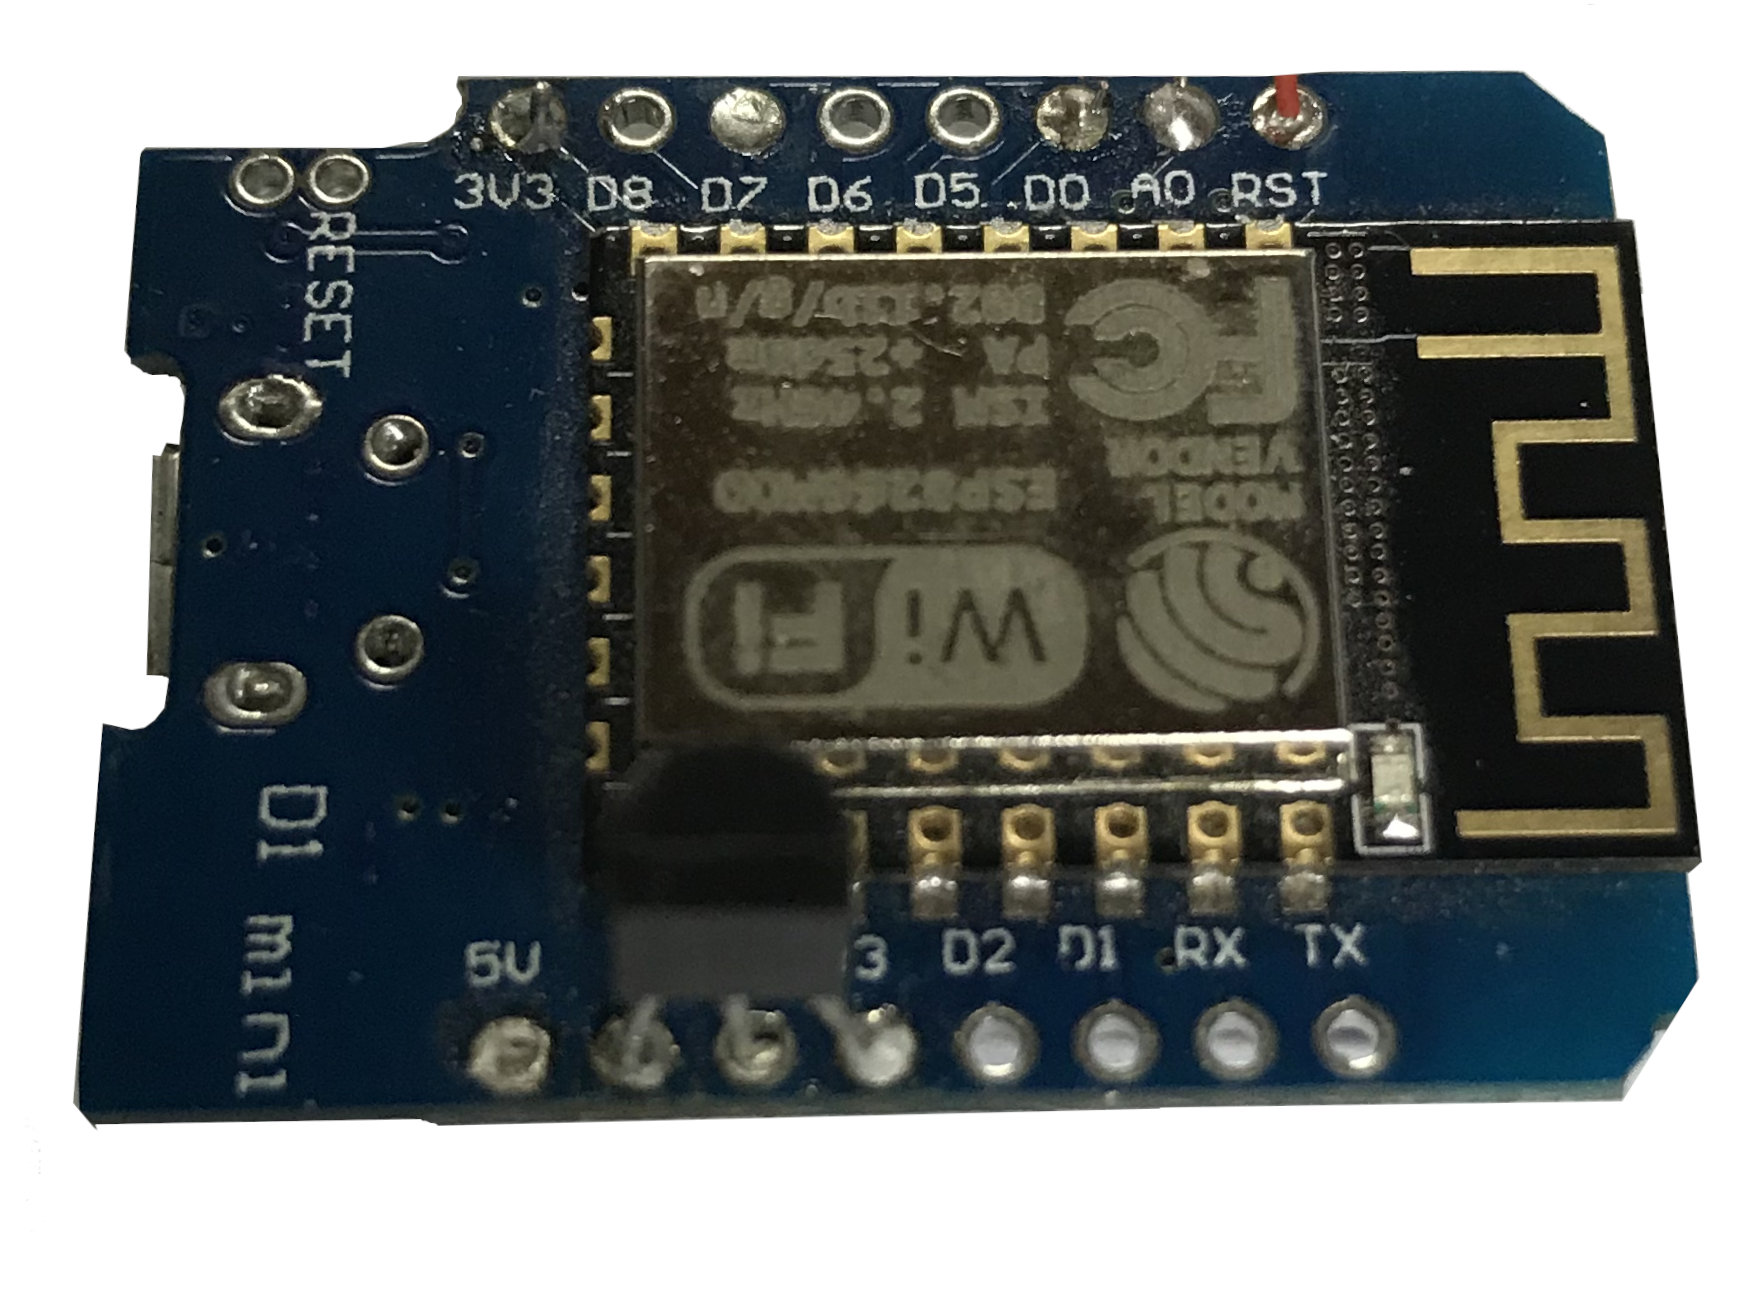
So, we decided in the future we would offer some through hole temperature sensors. The Maxim MAX31820 Dallas One-wire compatible device seemed like a great choice. It was available in a TO-92 through hole package to keep it up off the board so we figured it would give us a good indication of the air temperature. Looking at the pinout, we even thought we could connect it to a D1 Mini board without any modification. Here's our first attempt:

The idea was simple:
If you line up the ground pin with the D1 Mini ground pin, the MAX31820 data pin ends up on the D1 D4 pin. VCC of the MAX31820 ends up on the D1 Mini D3 pin. The power of the MAX31820 is only 1.5mA max and even this is only during a conversion process so we assumed we could easily power the device from an I/O pin of the D1 Mini. We also assumed with such a short one wire bus the internal pull-up on the ESP8266 would be sufficient.
The Code in ESPHome:
esphome:
name: test_max3182_d1_mini
platform: ESP8266
board: d1_mini
on_boot:
then:
- output.turn_on: ow_vcc
wifi:
ssid: ""
password: ""
# Enable fallback hotspot (captive portal) in case wifi connection fails
ap:
ssid: "Test Max3182 D1 Mini"
password: ""
captive_portal:
# Enable logging
logger:
level: VERY_VERBOSE
# Enable Home Assistant API
api:
password: ""
ota:
password: ""
output:
- platform: gpio
pin: D3
id: ow_vcc
dallas:
- pin: D4
# Individual sensors
sensor:
- platform: dallas
index: 0
name: "Test OW Sensor"
First Results
From the code above, you can see it's pretty simple:
- Force D3 as an output driving high to power the device
- defin D4 as a Dallas one wire device and read index 0 (otherwise we need to know the ID of the device)
We were unpleasantly surprised, however, to see the same high temperature reading that we saw with the LM75.
Our first thought was, maybe the pull-up needed to be added, but we could see a valid checksum on the ID code being read so it seemed unlikely. We decided to add 1K just as a test, but no change.
Then we thought, perhaps power supply noise was getting into the device, especially since we were powering from an output pin on the ESP8266. We swapped over to the 3.3V linear regulator on the D1 Mini and added a 1uF cap across VCC/GND of the the MAX31820, but again no good.
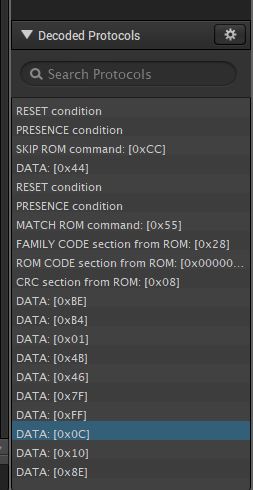
Next we thought, we better actually watch the one wire bus. We could see the data with the log set to very-verbose in ESPHome, but maybe there was something there. We hooked up a logic probe (one that decodes 1-wire is always nice):
Comparing to the datasheet we noted:
- We see the correct start conversion code (0x44)
- We saw the correct read scratch code (0xBE) followed by 9 bytes as expected
- The data 0x01B4 = 436 * 0.0625C = 27.25C, exactly what we saw in the debug of ESPHome. But, it's not 81F in our office. It's winter and we would be lucky to see 70F.
A bit more head scratching and we pointed a small fan at the board. The temperature instantly went to 19C. 66F is a bit more like it for our offices. So, it seems again we're getting some board heating even on the through hole sensor.
Instead of a fan we added about 6" of cable between the sensor and the board and the temperature looks like it is reading properly.
So, we have a little bit more work to do still to figure out how to give you that low cost temperature sensor we're been looking for without the effects of board heating.

