Amcrest 5MP Ultra HD Outdoor PoE Camera
Amcrest shipped us one of their 5MP UltraHD Outdoor Turret Power over Ethernet (PoE) cameras for review. We decided the best way to put it through the paces was to do a head to head comparison against our favorite PoE camera: The Reolink RLC-410.
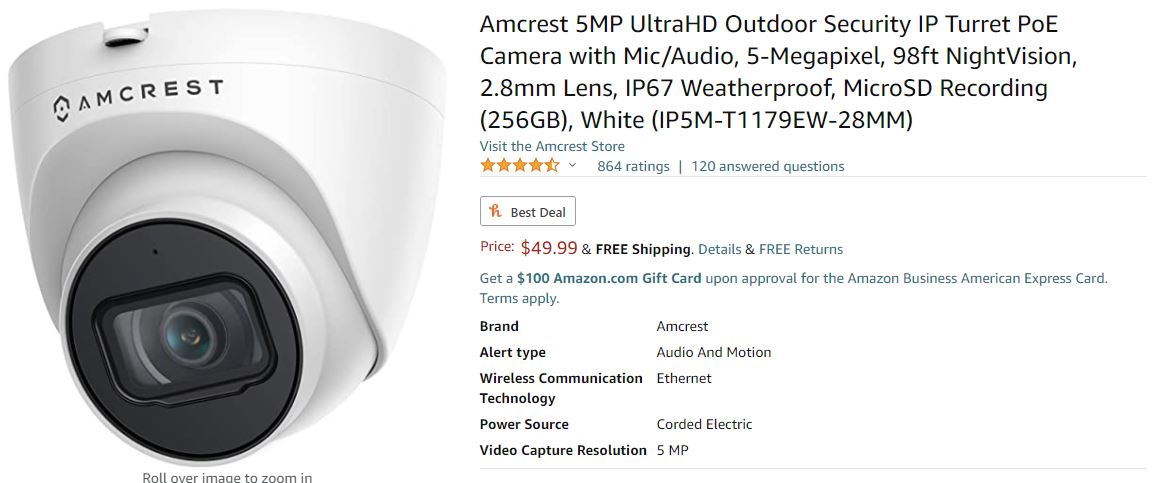
Here's the listing on Amazon for the Amcrest camera:
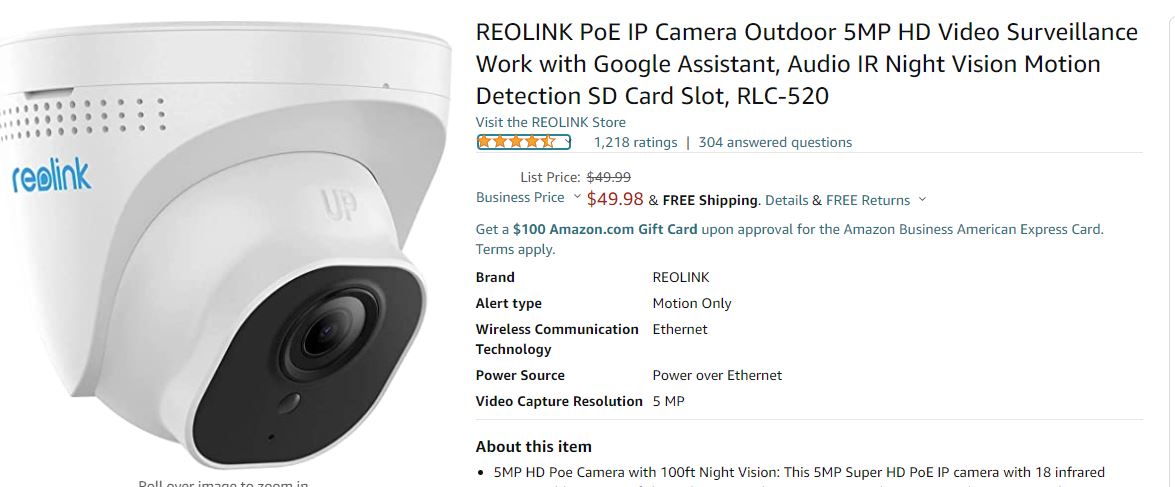
For a fair comparison of price, we should look at the RLC-420 which is also a Turret style PoE camera. It's exactly the same price as the Amcrest:
Specification Comparison
We only had the bullet style RLC-410 around. According to Reolink this camera has the same specs as the RLC-520 so it should work for our side by side comparison.
First a look at the specs of the two cameras:
| Reolink | Amcrest | |
| Image Size | 2560x1920 | 2592x1944 |
| Night Vision Distance | 65-100ft | 98ft |
| Storage Slot | uSD Card up to 64GB | uSD card up to 256GB |
| Audio | Built In Mic (1 way audio) | Built in Mic (1 way audio) |
| Lens | 4.0mm | 2.88mm |
On paper the two cameras are very similar with the Amcrest slightly edging out on the large supported micro SD card and wider view lens.
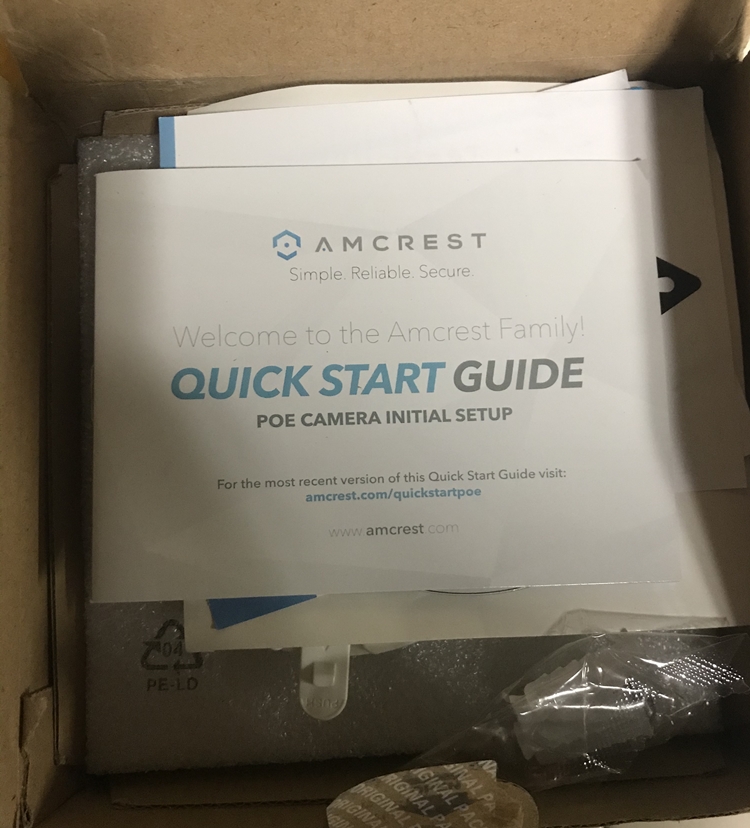
Unboxing
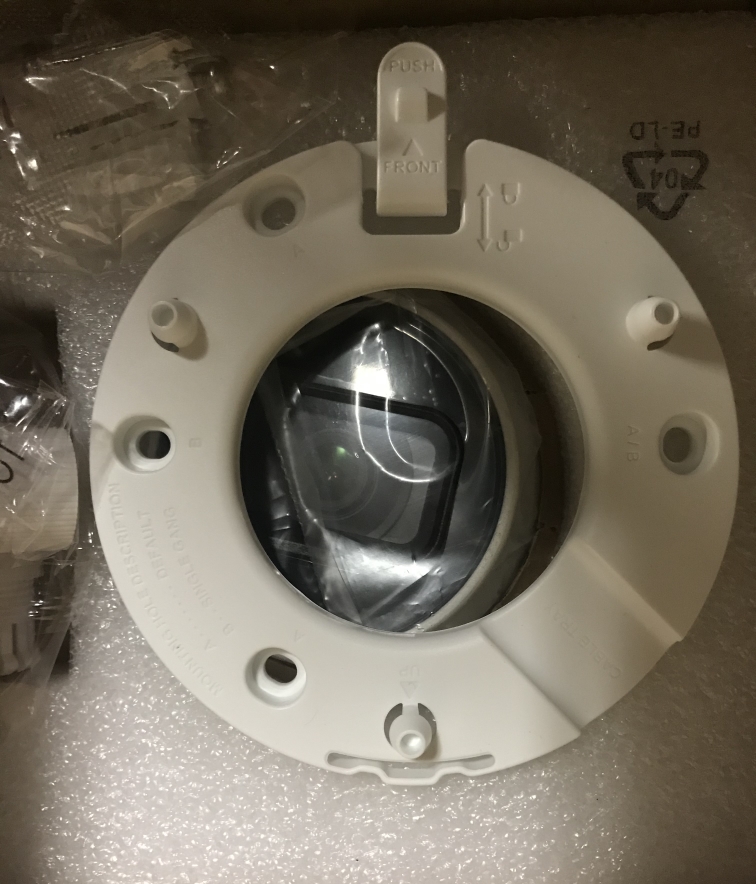
When the box is opened you are presented with a quick start guide, then the camera mount, and finally the camera.
We really liked this camera mount. The camera easily slides in and out of this mount by just pressing the pull-tab to release/lock.
Camera Setup
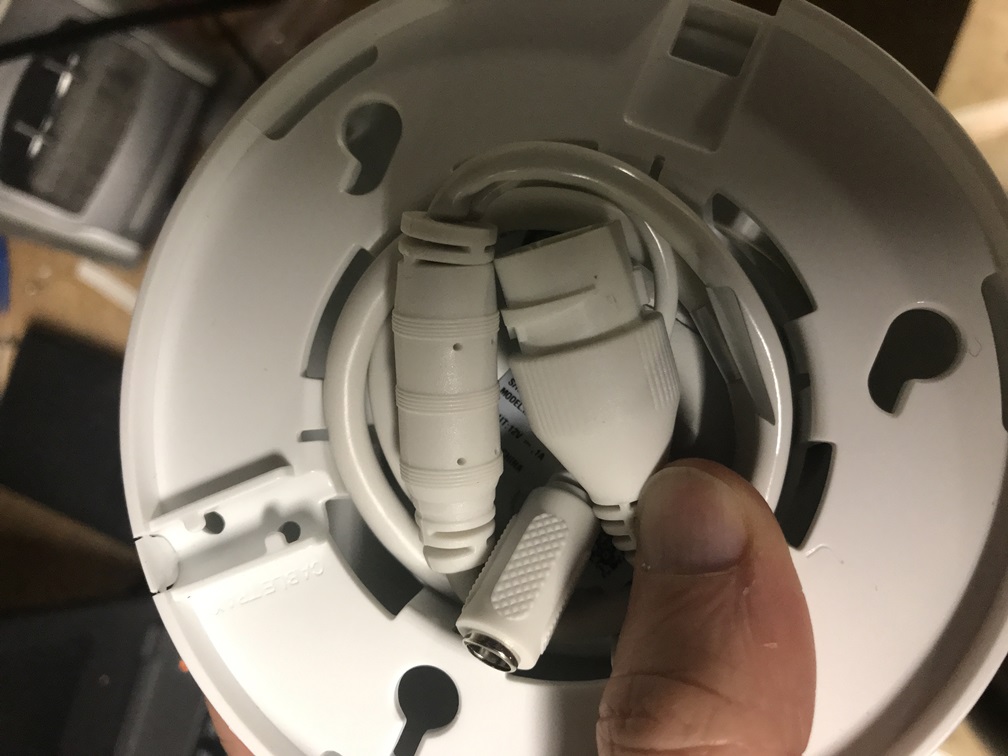
The first thing we noticed during setup is that it appeared there was enough room to put all the cabling in the extra space in the camera body. One thing we dislike about the reolink is we usually have to put a large mounting box behind the cameras to store all the cable. This seemed really promising. Unfortunately, the space is a little bit short. We would have preferred Amcrest to cut down on the cable length so there is enough room to make all connections within the camera body itself.
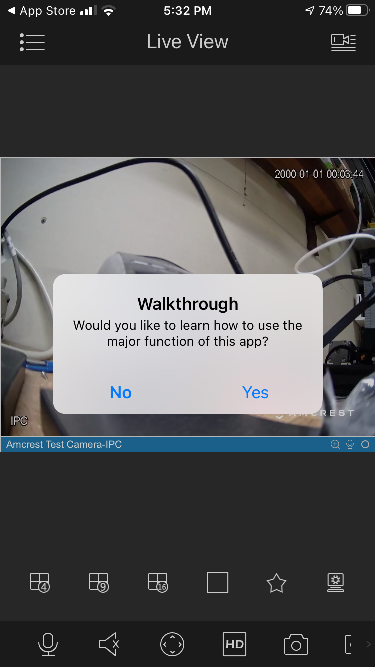
Mobile application is pretty simple and very similar to the reolink. After downloading the app from the app store, just scan the QR code on the camera to pair it with the app. The Amcrest app also walks you through all the features of the app after installation which is a nice bonus.
Test Setup
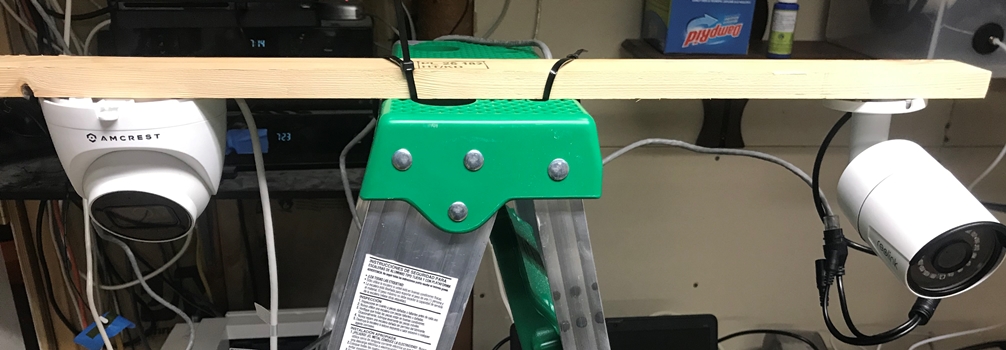
To test the Amcrest camera side by side to the reolink in a variety of applications we decided to temporarily mount the two cameras to the top of a ladder. We could then move the ladder around to various inside and outside conditions and compare the difference. For night comparison we would just have to remember to turn off the IR LEDs on the camera not in use to not influence the results of the other camera. There was one small hiccup here: It turns out there is no way to control the IR LEDs on the Amcrest camera. Thus, whenever we were capturing images from the Reolink we had to remove the Ethernet cable from the Amcrest camera.
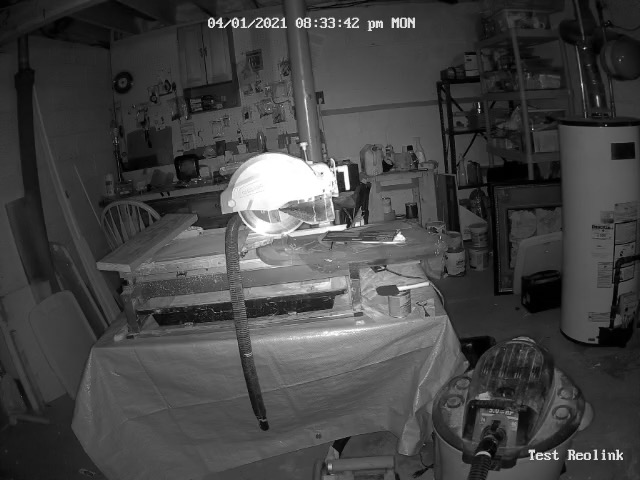
Test 1: Workshop
| Amcrest | Reolink | |
| Lights On | 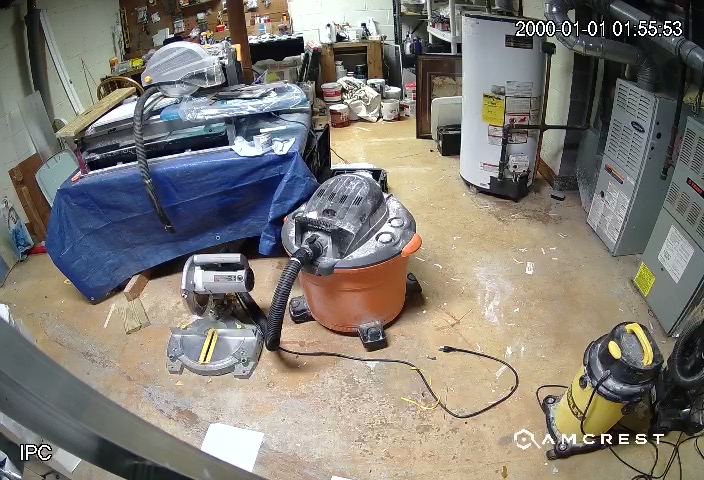 |
 |
| Lights Off, IR On | .jpg) |
 |
| Lights Off, Ir Off | Not supported by Amcrest | 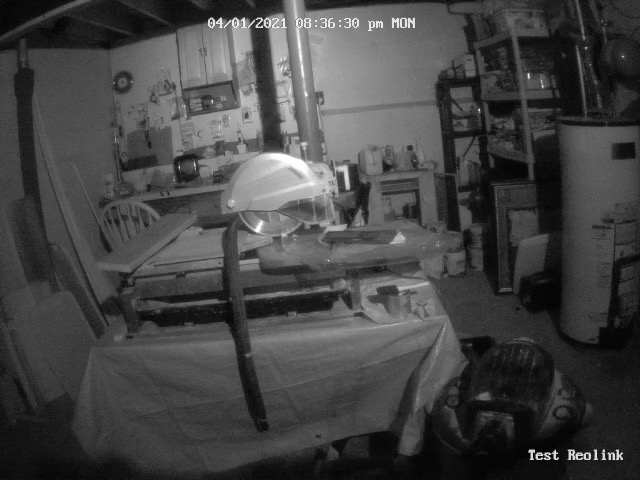 |
With the lights on the Amcrest picture looks a little bit brighter, but both pictures look good overall. When the lights go out, the IR reflection off the metal saw seems to bother the Reolink a little bit, while the Amcrest doesn't show this. I wonder if this is because of the wider viewing angle of the Amcrest. It is interesting to note that in this room even with the lights out there is a tiny bit of light coming from the LEDs on the equipment sitting in a rack right behind the cameras. This tiny light was enough to make the picture still very good when the Reolink IR LEDs are turned off (actually, even better than when the LEDs are turned on). Overall, both cameras looked excellent in this room.
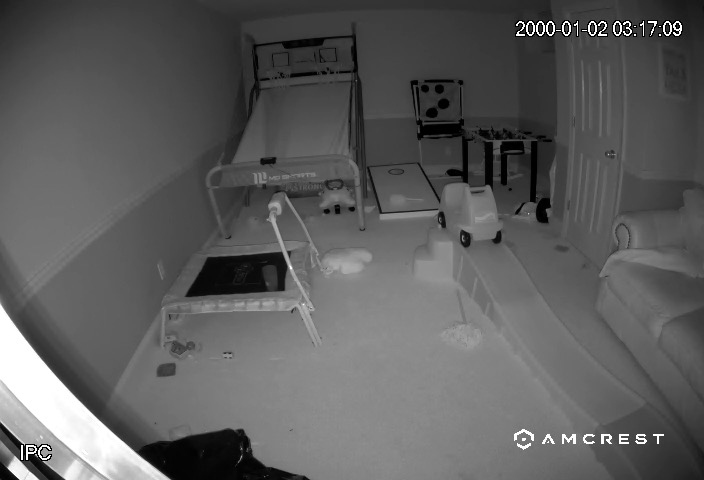
Test 2: Toy Room
The ambient light issue in the workshop led us to want to test in a completely dark room.
| Amcrest | Reolink |
 |
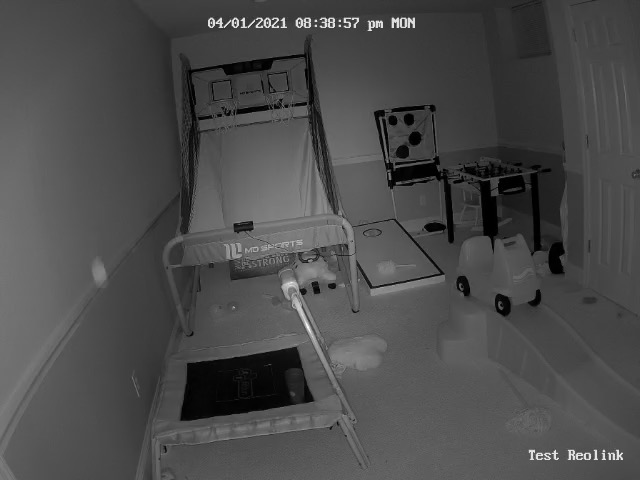 |
It's hard to see much delta here other than the wider picture with the 2.8mm lens in the Amcrest.
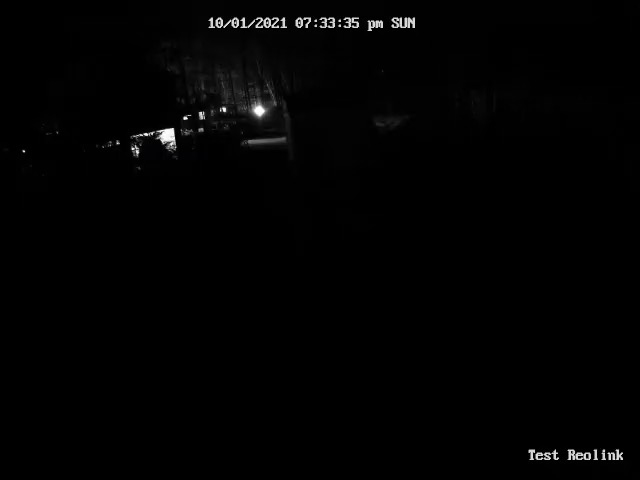
Test 3: Outside at Night
This should be the most important camera performance test: Outdoors at night.
View 1: Side Yard. The side yard has almost no visible light and very little objects for IR to bounce off. You can see a few lights off in the distance from my neighbor in both cases, but the Amcrest seems to light up the grass better.
| Reolink | Amcrest |
 |
 |
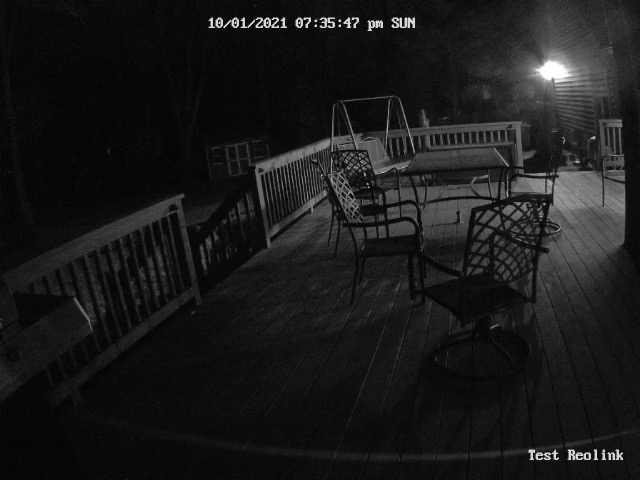
View 2: Deck
Next we turned the camera around to view the deck. This gives the camera a lot more surfaces to bounce light. The really bright spot in the upper right of the photos is the IR from a fixed mounted Reolink camera which normally monitors my back doors. Again, the Amcrest seemed to be a bit brighter.
| Reolink | Amcrest |
 |
.jpg) |
Overall we were very impressed with this camera. It performed very well in our heads up competition against h our long time favorite PoE camera. One feature we missed on the Amcrest vs the Reolink was the ability to FTP an image to a server. We used this feature on our low cost construction camera build and found it very convenient. Otherwise, if the FTP feature is not required the Amcrest is a great camera and I'm sure we will be using them for installs soon.